Waterproofing Wooden Floors: Best Methods, Tips & FAQs
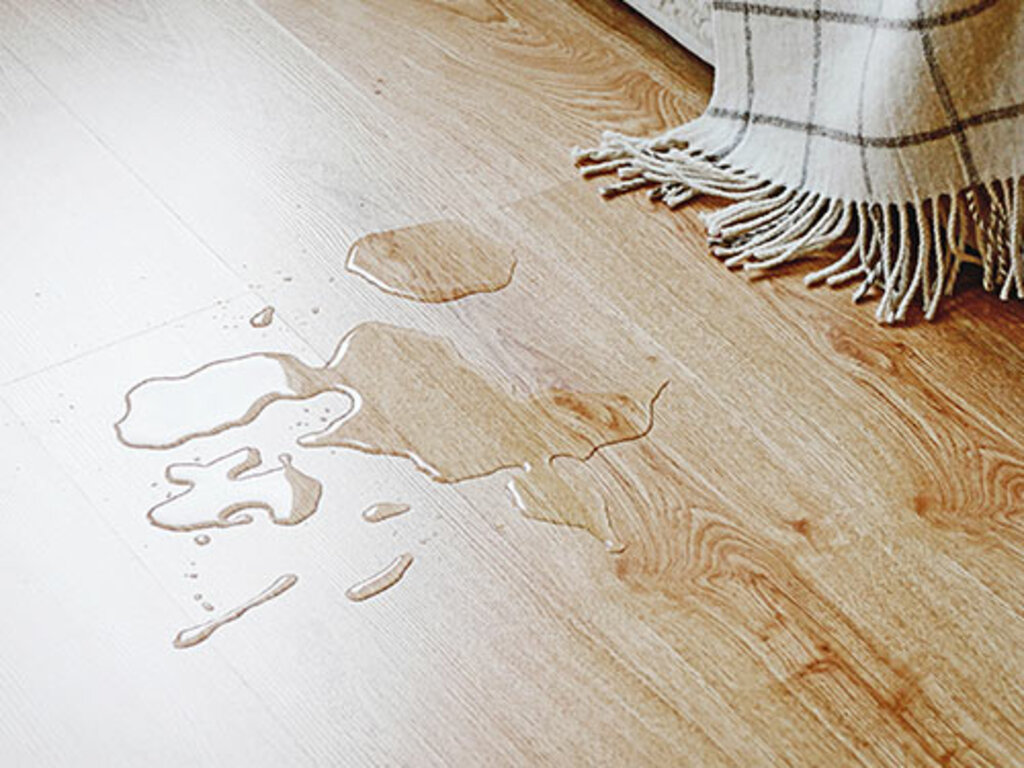 Wooden floors are beautiful, timeless, and a real investment in your home. However, one of their biggest weaknesses is their vulnerability to water. Even small spills, if left untreated, can seep into the wood, causing staining, swelling, or long-term damage. This is why many homeowners look for ways to make their flooring either water-resistant or fully waterproof.
In this guide, we’ll explain the difference between the two, outline the most effective methods for protecting your wooden floors, and provide practical tips for application and maintenance. Whether you’re protecting a living room with kids and pets or trying to make a kitchen or bathroom safer, you’ll find solutions that fit your needs.
Water-Resistant vs Waterproof — What’s the Difference?
One of the most common misunderstandings is the difference between water-resistant and waterproof flooring. While the terms sound similar, they offer very different levels of protection.
- Water-resistant floors handle everyday accidents such as small spills or pet messes. The surface is protected, but if water sits too long, it can still seep through.
- Waterproof floors are built or treated to block water from penetrating the surface, making them suitable for high-moisture areas like bathrooms and utility rooms.
If you only need protection against the occasional splash, a strong finish or sealant may be enough. For wet environments, consider fully waterproof solutions.
Understanding Your Needs
Identify what level of protection you actually need before choosing products or methods:
- Light protection (living rooms/bedrooms): a durable varnish or lacquer to handle everyday spills that are wiped promptly.
- Moderate protection (kitchens/dining): pair high-quality sealers with a robust topcoat for better moisture defence.
- Full waterproofing (bathrooms, laundry rooms, basements): Standard hardwood may not be the best choice. Opt for waterproof vinyl, SPC flooring, or specially treated engineered wood.
By assessing your needs at the start, you’ll avoid spending money and effort on solutions that don’t fit your home or lifestyle.
Preparing Your Floor Surface
A successful waterproofing job starts with proper preparation. Skipping this step is the most common mistake homeowners make.
- Clear the area – Remove furniture, rugs, and décor to expose the full floor.
- Clean thoroughly – Sweep, vacuum, and mop to eliminate dust and grease.
- Inspect and repair – Fill gaps with wood filler, tighten loose boards, and replace damaged planks.
- Sand the floor – Remove old finishes and smooth the surface for better adhesion.
- Check the environment – Ensure the room is dry and ventilated to avoid trapping moisture under coatings.
Proper preparation ensures your waterproofing products will bond correctly and offer long-lasting protection.
Waterproofing Methods
There are several ways to protect your wooden floor. The right choice depends on your goals, budget, and the area of the home.
Hard Finishes
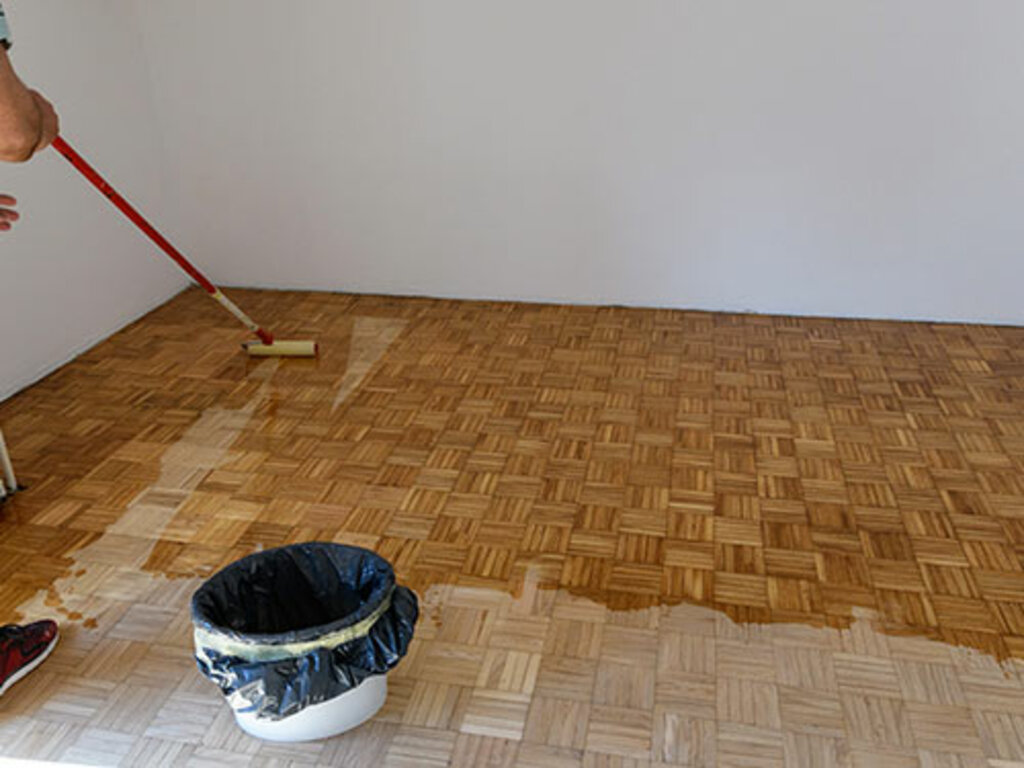 Varnishes and lacquers form a tough surface layer that resists spills and stains. They are more effective than oils when it comes to moisture protection. Apply at least three coats for reliable results.
Special Sealers
Professional-grade wood sealers penetrate the wood and create an internal barrier against moisture. These are a good choice for kitchens and hallways, where spills are frequent but constant wetness is unlikely.
Waterproof Materials
If you need full waterproofing, consider installing SPC vinyl flooring, waterproof engineered planks, or high-performance laminates designed for wet rooms. These products are specifically made to block water and work well in bathrooms and basements.
Proper Application Process
Follow these steps for a durable, even waterproofing finish.
Tools & Materials
- Vacuum, tack cloths, microfibre mop
- Masking tape, dust sheets
- Fine abrasives (120–180 grit), sanding block/pole sander
- Quality brushes and a microfibre applicator pad or short-nap roller
- Chosen lacquer/varnish or specialist sealer (check manufacturer data sheet)
Step-by-Step
- Final clean: Vacuum thoroughly and tack the surface to remove all dust.
- First coat (seal coat): Apply thin and even with the grain. Work in manageable sections. Maintain a wet edge.
- Dry time: Respect the product’s recommended cure time (often 2–4 hours to touch, longer for recoat). Cool, humid rooms take longer.
- De-nib: Lightly sand (150–180 grit) to remove raised grain, then vacuum and tack.
- Second coat: Apply another thin, even coat. Avoid overworking; let the film level itself.
- Third coat (recommended): For kitchens and high-traffic rooms, a third coat provides noticeably better moisture resistance.
- Edge attention: Feather into edges and board ends—these are the most vulnerable to moisture.
- Cure before use: Light foot traffic after initial cure is fine, but avoid rugs and wet cleaning for 7–10 days or per product data sheet.
Tip: Keep the room temperature 18–23 °C and the relative humidity around 40–60% for consistent curing.
Advanced Waterproofing Options
Under-Floor Moisture Control
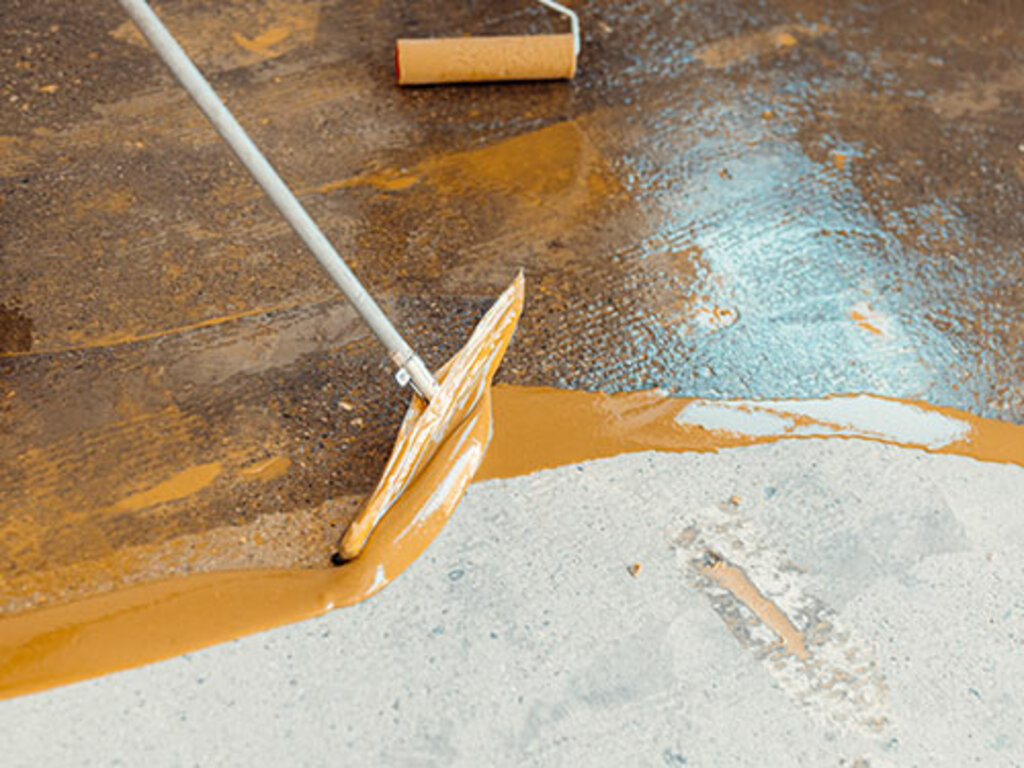
- DPM (Damp Proof Membrane): For concrete subfloors, use an epoxy/liquid DPM before fitting timber or engineered floors to block rising moisture.
- Underlay with built-in barrier: For floating floors, pick an underlay that includes a vapour barrier and tape all seams.
 Wet-Area Alternatives
- SPC/LVT click systems: 100% waterproof surface and joints when installed correctly—excellent for bathrooms and utilities.
- Water-rated engineered products: Some engineered woods are designed for higher humidity; confirm suitability with the manufacturer.
Note: Solid wood in true wet rooms is not recommended; use waterproof alternatives for long-term reliability.
Maintenance Tips
- Daily: Dry sweep or vacuum with a soft brush head to remove grit.
- Weekly: Damp-mop with a pH-neutral wood-safe cleaner; avoid over-wetting.
- Spills: Wipe immediately—standing water is the enemy.
- Protection: Felt pads under furniture; use mats at entrances and near sinks.
- Refresh cycles: High-traffic kitchens often benefit from a light de-nib and top-up coat every 2–4 years (follow product guidance).
Common Mistakes to Avoid
- Skipping sanding and deep cleaning before coating.
- Using oil/wax expecting waterproof performance (oils are water-resistant at best).
- Applying heavy coats—thick films trap solvents and cure weakly; use thin, multiple coats.
- Ignoring ambient conditions (cold, humid rooms = slow, uneven cure).
- Rushing back onto the floor or placing rugs before full cure.
Quick-Reference: Which Solution Do I Need?
| Scenario |
Recommended Approach |
Why |
| Living room / bedroom, occasional spills |
3× coats of quality lacquer/varnish |
Robust day-to-day protection with simple upkeep |
| Kitchen / dining (frequent splashes) |
Penetrating sealer + 2–3× coats of lacquer |
Better resistance at board edges and ends |
| Bathroom / utility / wet area |
SPC/LVT waterproof floor (not solid wood) |
True waterproof performance; minimal maintenance |
| Concrete subfloor with residual damp |
Epoxy/liquid DPM beneath floor system |
Blocks moisture migration from below |
FAQs
Is an oil finish enough to waterproof my wooden floor?
No. Oils enhance grain and add water resistance, but they don’t create a waterproof barrier. For stronger protection, use a film-forming lacquer/varnish or choose a waterproof floor type (e.g., SPC/LVT) in wet areas.
How many coats should I apply for good protection?
Plan for three thin coats in kitchens and high-traffic rooms. Lightly de-nib between coats for best adhesion and smoothness.
Can I waterproof over an existing finish?
Only if the new product is compatible. Most film finishes require sanding back or full removal of old wax/oil to achieve proper bonding. Always follow the manufacturer’s prep instructions.
What about gaps between boards—won’t water get in?
Fill stable gaps before coating, and ensure edges receive full film build. Remember that wood moves with seasons; for persistent wet zones, switch to a waterproof floor instead of relying on fillers alone.
How long before I can place rugs or heavy furniture back?
After initial cure, you can walk in socks, but wait for the full cure window (often 7–10 days) before placing rugs or sliding heavy items. Use felt pads and lift—don’t drag.